nana’s buns

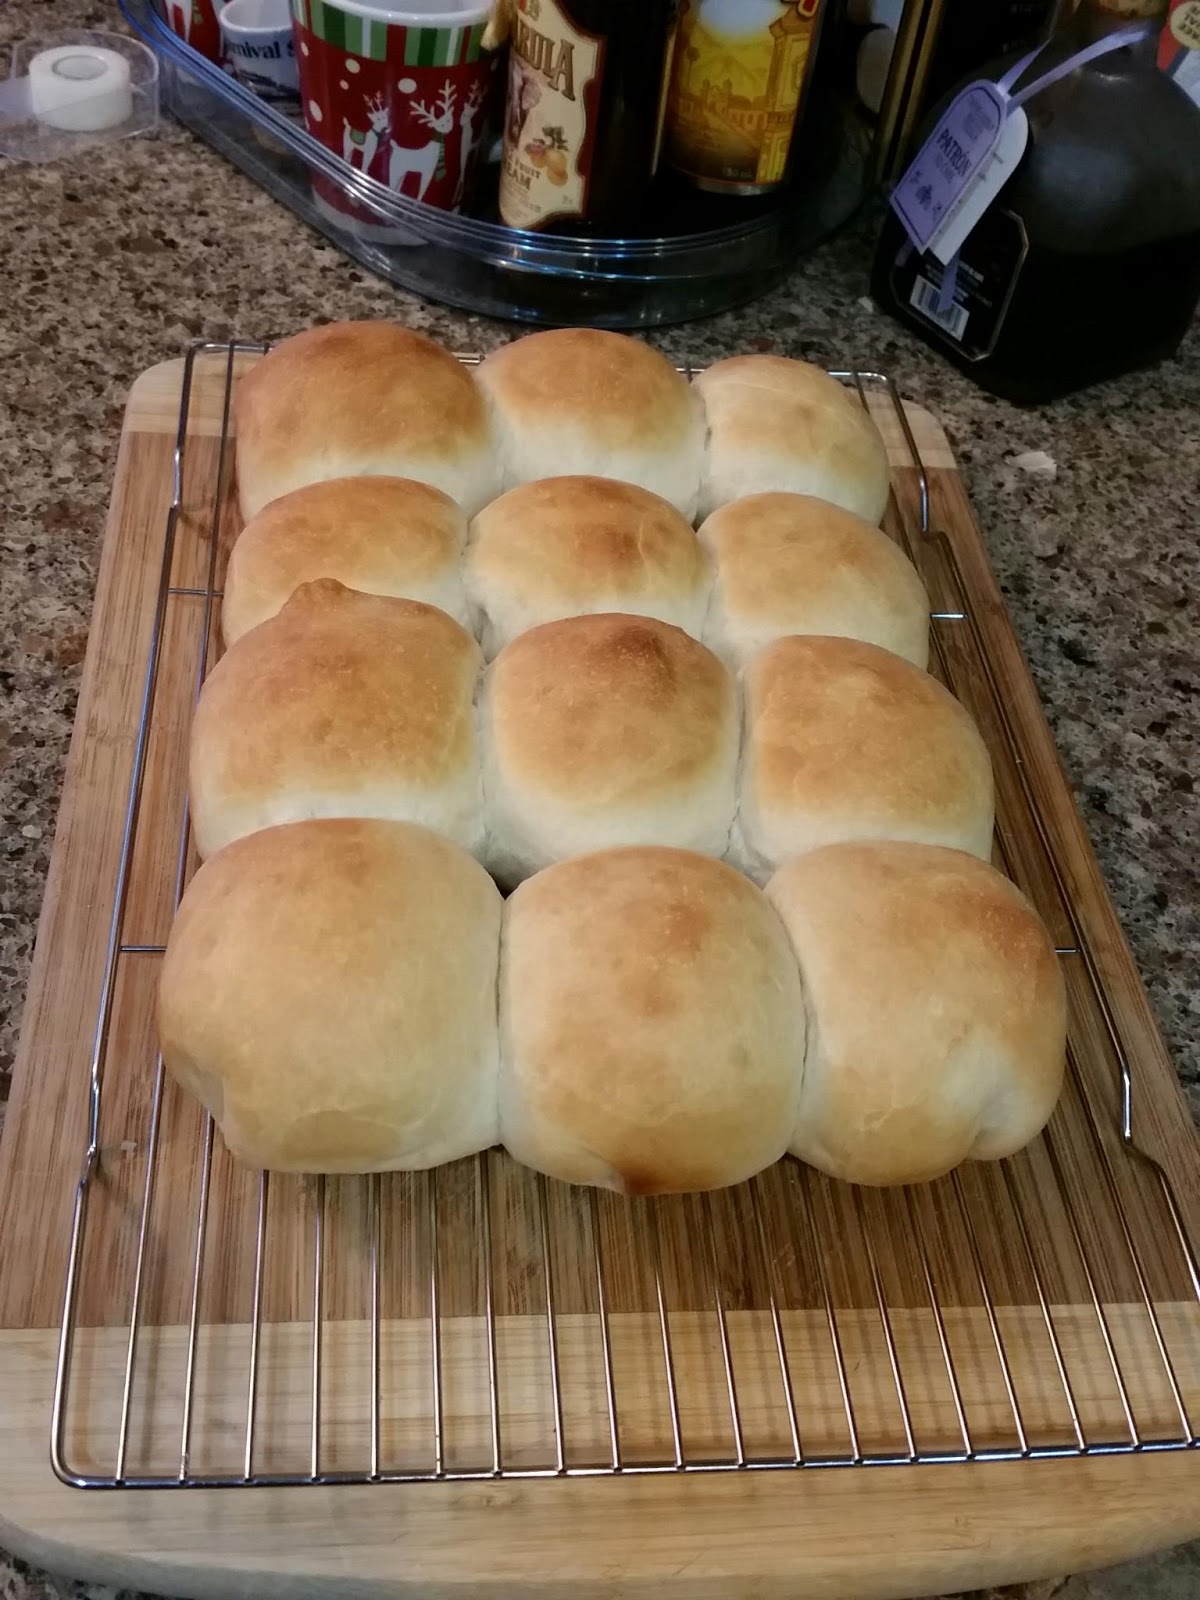
Last Monday we made chilli.  It was delicious.  The only thing that could of made it better were these buns for dipping.  Comfort food combo perfection that is.  Unfortunately, I was unable to make them last weekend because of the Whole 30 thing.  I did however indulge on this more than once in December.  Even after the chilli was gone.  Slather a little peanut butter on those puppies.  Yum.  

These particular buns bring back all sorts of good memories.   The smell of warm bread in the oven.  Leaning over the heat vent, staring at the cloth covered bowl as if watching it could will it to rise faster.  Trying to be a good little helper.
You see these buns are of the best variety, nana’s buns.  Well, as close as one can imagine since everyone knows nana’s don’t really have recipes.  It is always a dash of this and a pinch of that.  They seem to always bake from the feel of things, no recipe required.  It seems my husband cooks this way as well.  Apparently, all the best do.  Not me though, I need a recipe at least the first time.  Somewhere to start off with and then I can revise and make it my own.
  
My mom made them occasionally although more often than not if Nana wasn’t making them only my Aunt could really recreate them.  My sister has tried with success in recent years.  I, however, had not ever been brave enough to be inclined to try.  Until I was.  I wanted to try out the new Kitchen Aid stand mixer Scott got for Christmas.  I was making chilli that day and thought buns would be perfect with it.  I started to look for a recipe, then decided to be brave and finally try nana’s.
  
With a little help from Scott and a lot of help from the stand mixer.  That thing is just genius.  Not to mention makes me feel a bit lazy/guilty for not having to do all that needing.  The buns came out perfect and all was right in the world.  I thought I would share the recipe here since so many of you liked the chilli recipe and they go hand in hand.  

Nana’s Buns 
aka dinner rolls
 
Ingredients
 
1 tbsp butter 
1 tbsp active-dry yeast
1/2 cup milk
1/2 cup warm water
1 large egg
2 tbsp sugar
2 tablespoons olive oil
1 tsp salt
3 cups all purpose flour
 
Directions
 
In your stand mixer bowl (or a large bowl if you are doing this nana’s way) stir your yeast into the water and sugar and let it stand until it is all dissolved.  In a second bowl, mix together the oil, egg, salt and milk.  Add the milk mixture to your yeast mixture and stir.  Add flour a bit at a time and stir in till it becomes a shaggy dough.
Next it is time to knead the dough. Use a low speed for about 8-10 min until the dough becomes smooth but still a bit tacky.  It should pass a spring back test if you poke it.  This is where the stand mixer really comes in handy.  Sorry if you have to knead it by hand.  Although, I hear some people are into that.  Who would have guessed?
 
After that, put a towel over the bowl and let the dough rise in a warm spot.  This took about an hour for me.
 
Let’s make the rolls now shall we? Yes.  Dust a little flour on your work surface trying not to get it all over yourself.  I failed at this step.  Divide dough into 12 pieces with a bench scraper or sharp knife if you don’t have one.  Make little packages out of the dough by folding the corners under and tucking in.  Roll around until round.  Must say this is where Scott came in and saved the day.  He’s such a good helper.  I had never done this before so I wasn’t totally sure on the whole shaping business.  
 
Place in a 9 x 13 pan lined parchment paper.  So much ever to clean up after.   Preheat oven now to 375F and let buns rise again covered on stovetop.
Brush with butter for a golden, crisp top.  Bake for 15-18 min depending on your oven.  When done let buns cool on a wire rack.  Best eaten while still warm.  Duh!
There you have it.  Nana’s buns and a trip down memory lane.  I love how just the smell of these takes me back in time.  
Print this recipe.